
In this DIY project, we will create a simple and fun laser cat toy!
This project uses two servos, a NodeMCU, and a 9V battery to control a laser that moves around in a random pattern, keeping your cat entertained for hours.
The laser is mounted onto a 3D-printed arm and housing, making the setup sturdy and visually appealing.
Supplies


There are only a few things you will require:
- NodeMCU – Or a similar Arduino module
- Two 9G servos
- 9V battery and battery clip
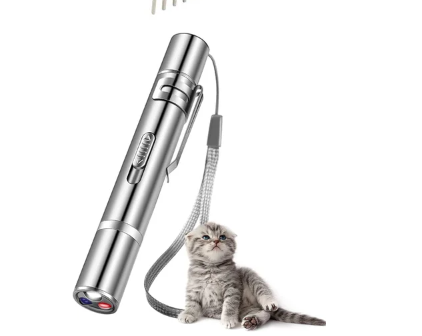
- Laser toy – Make sure it has a clip or a method to secure it onto the arm (You can find lots of these online for cheap)
- Jumper wires
- M2*8 Screws – You will need a few of these to secure the servos and 3D-printed arms together.
- M2 Nut – You will need two of these to secure one of the servos to the Base.
- M4*8 Screws – You will need four of these to secure the Base Cover onto the bottom of the housing.
- 3D Printer & Filament – You will need access to a 3D printer and some filament to print the cat toy housing.
Step 1: 3D Printing


I designed the housing in Fusion 360 and printed them using white PLA.
The design consists of four main parts.
- Base.stl – This is where the electronic components will be stored
- Arm Bracket.stl – This allows the Z rotation.
- Laser Holder.stl – This holds the laser and allows the X rotation.
- Base Cover.stl – This covers the bottom of the base and protects the electronics.
I used the following print settings:
- Infil: 20%
- Layer height: 0.28mm
- Supports: Yes (Specifically: Tree Supports)
Attachments
Step 2: Assembly


There are only a few steps required to assemble the entire cat toy.
- First, mount one of the servos into the Arm Bracket and secure it using M2 screws.
- Then, using two M2 Screws and Nuts, secure the other servo to the Base by slotting it into the allocated slot. (Make sure that the gear of the servo motor is in the centre)
- Afterwards, secure the Laser Holder to the servo arm of the Arm Bracket by using M2 Screws.
- Do the same thing by screwing the Arm Bracket into the servo arm of the Base.
- Finally, thread the Servo cable from the Arm Bracket through the hole in the Base.
Now you should be complete with the assembly!
If you are confused, please look at the images above for some clarification!
Step 3: Wiring


The wiring of the Cat Laser Toy is simple, you can either follow the Fritzing diagram above or read the wiring diagram below.
9V Battery – NodeMCU
- Positive (+) – VIN
- Negative (-) – GND
X-Axis Servo Motor – NodeMCU
- Positive (+) – 3.3V
- Negative (-) – GND
- Signal -D6
Z-Axis Servo Motor – NodeMCU
- Positive (+) – 3.3V
- Negative (-) – GND
- Signal -D5
Step 4: Code


How it works:
The code works by controlling the two servos to move the laser in random patterns.
In the main loop, the code generates random target positions and speeds for the servos within predefined limits.
After each movement, the code introduces a random delay, before the next movement occurs.
Adjusting the Angle Limiters:
Within the code, there are limiters in place so the Servo only draws the dot within a specified range.
You can customize the range of motion for each servo by adjusting the angle limiters in the code. This allows you to control how far the laser can move horizontally and vertically. Modify the minAngleX, maxAngleX, minAngleZ, and maxAngleZ variables to suit your preferences.
Programming the NodeMCU:
- To begin, download the attached code file below and open it using Arduino IDE.
- Make sure that the Servo library is installed in the Arduino IDE software. You can install it via the Library Manager (Sketch > Include Library > Manage Libraries… and search for “Servo”).
- Then, connect the NodeMCU to your computer using a Micro USB cable.
- Select the correct board and port in the Arduino IDE (Tools > Board > NodeMCU 1.0 (ESP-12E Module) and Tools > Port > COMX).
- Click the upload button and wait for the code to be uploaded.
Attachments
Step 5: Final Assembly


Finally, slot the laser toy into the Laser Holder and secure it in place.
Then, using four M4*8 screws, secure the Base Cover onto the bottom of the Cat Laser Toy in order to cover up all the electronics.


