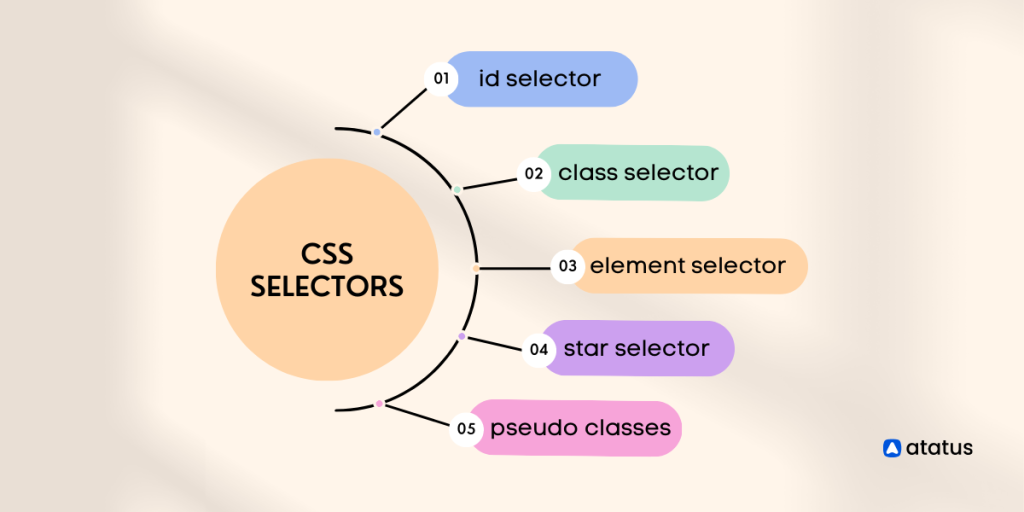
The CSS class selector is a powerful tool for web developers, allowing them to apply the same styles to multiple HTML elements. This helps in maintaining a consistent look and feel across a website. By using class selectors, you can make your CSS more modular and your HTML more semantic.
Syntax
To use the class selector, you write a period (.) character followed by the class name. This selector will apply the defined styles to all HTML elements that have the specified class.
.classname {
    /* CSS properties */
}.classname: The period (.) indicates that you are selecting a class, andclassnameis the name of the class you want to style.{ /* CSS properties */ }: Between the curly braces, you define the CSS properties and values that you want to apply to the selected elements.
The CSS Class Selector Synopsis
What is a Class?
In HTML, a class is an attribute you can assign to any HTML element. This attribute takes a string value, which you define as the class name. You can assign the same class name to multiple elements, and you can also assign multiple classes to a single element by separating the class names with spaces.
Why Use Class Selectors?
Class selectors allow you to apply the same styles to multiple elements without repeating the CSS code. This makes your CSS more maintainable and your HTML more semantic. Instead of styling each element individually, you define a class and then apply it to any element that should share the same styles.
Example
Let’s see an example where we use the class selector to style elements with the class name middle.
HTML
In your HTML file, you can assign the middle class to any element you want to style:
<!DOCTYPE html>
<html lang="en">
<head>
    <meta charset="UTF-8">
    <meta name="viewport" content="width=device-width, initial-scale=1.0">
    <title>Class Selector Example</title>
    <link rel="stylesheet" href="styles.css">
</head>
<body>
    <h1 class="middle">Welcome to My Web Page</h1>
    <p class="middle">This paragraph is centered and orange.</p>
    <p>This paragraph is not styled by the middle class.</p>
</body>
</html>
CSS
In your CSS file (styles.css), you can define the styles for the middle class:
/* styles.css */
.middle {
    color: orange;
    text-align: center;
}
Explanation
- HTML Structure:
- The HTML file contains an
<h1>and two<p>elements. - The
<h1>and the first<p>elements have themiddleclass, while the second<p>element does not. - CSS Definition:
- The CSS file defines a class selector
.middle. - The
.middleselector applies the stylescolor: orange;andtext-align: center;to all elements with themiddleclass.
When you open the HTML file in a web browser, you’ll see that the elements with the middle class are orange and center-aligned, while the other elements remain unaffected.
More Detailed Example
To understand the flexibility of class selectors, let’s expand our example. We’ll add more elements and use multiple classes.
HTML
<!DOCTYPE html>
<html lang="en">
<head>
    <meta charset="UTF-8">
    <meta name="viewport" content="width=device-width, initial-scale=1.0">
    <title>Class Selector Example</title>
    <link rel="stylesheet" href="styles.css">
</head>
<body>
    <h1 class="middle">Welcome to My Web Page</h1>
    <p class="middle highlight">This paragraph is centered, orange, and highlighted.</p>
    <p>This paragraph is not styled by the middle class.</p>
    <p class="highlight">This paragraph is only highlighted.</p>
</body>
</html>
CSS
/* styles.css */
.middle {
    color: orange;
    text-align: center;
}

.highlight {
    background-color: yellow;
    font-weight: bold;
}
Explanation
- HTML Structure:
- The first
<p>element has bothmiddleandhighlightclasses. It will receive styles from both class selectors. - The second
<p>element has no classes and remains unaffected. - The third
<p>element has only thehighlightclass, so it will only receive the highlight styles. - CSS Definition:
- The
.middleclass sets the text color to orange and centers the text. - The
.highlightclass sets the background color to yellow and makes the text bold.
By combining classes, you can create complex styles without duplicating CSS rules. This approach keeps your code clean and maintainable.
Summary
Using the class selector in CSS is a simple yet powerful way to apply consistent styles to multiple elements in your HTML document. By defining a class in your CSS file and assigning that class to the desired elements in your HTML file, you can maintain a clean and organized structure while ensuring consistent styling across your webpage.
Key Points
- Modularity: Classes make your CSS more modular and reusable.
- Maintainability: It’s easier to update styles by changing the class definition rather than updating each element individually.
- Semantic HTML: Classes help in keeping your HTML semantic and meaningful, which is beneficial for both human readers and search engines.
Full Code Example
HTML
<!DOCTYPE html>
<html lang="en">
<head>
    <meta charset="UTF-8">
    <meta name="viewport" content="width=device-width, initial-scale=1.0">
    <title>Class Selector Example</title>
    <link rel="stylesheet" href="styles.css">
</head>
<body>
    <h1 class="middle">Welcome to My Web Page</h1>
    <p class="middle highlight">This paragraph is centered, orange, and highlighted.</p>
    <p>This paragraph is not styled by the middle class.</p>
    <p class="highlight">This paragraph is only highlighted.</p>
</body>
</html>
CSS
/* styles.css */
.middle {
    color: orange;
    text-align: center;
}

.highlight {
    background-color: yellow;
    font-weight: bold;
}
By following these steps and principles, you can use class selectors to apply consistent styles to your HTML elements, making your web pages more visually appealing and easier to maintain. This method ensures that your web development process is efficient and your code is clean and readable.
READ: The smartest way to link CSS to an HTML Document | Crash course by UDEMIE

Read The CSS Class Selector Online
You can use the link below to read The CSS Class Selector online


